
순서 개요
- Secret key 및 QR 코드 생성
- Google Authenticator 앱에서 QR 코드로 계정 생성
- 인증 번호 검증
패키지 설치
npm install speakeasy qrcode
Secret Key 및 QR 코드 생성
- index.js 생성
const speakeasy = require('speakeasy');
const qrcode = require('qrcode');

// Secret Key 생성
var secret = speakeasy.generateSecret({
    name: "onestone-test"
});
console.log(secret);

// 생성한 Secret Key를 기반으로 QR 코드 생성(URL)
qrcode.toDataURL(secret.otpauth_url, function(err, data) {
    console.log(data);
});- index.js 실행
node index.js- secret 별도 저장 (검증 단계에서 필요, ascii 이용)

- qr 코드 생성
1. 출력된 url (data:image/png;~~~)

2. test.html > 이미지 생성
// test.html

<img src="위의 출력된 url">
Google Authenticator 계정 생성
- google authenticator 앱 실행
- 하단 + 클릭 > QR 코드 스캔 (위의 test.html 파일로 생성한 QR코드 이미지 스캔)
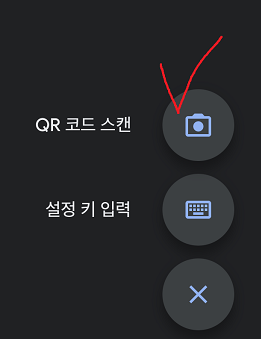
- 계정 생성 완료

5. 인증번호 검증 테스트
- verify.js 생성
- secret : 위의 secret key 생성에서 출력된 ascii 값 입력
- token : google authenticator 앱에서 생성한 계정의 인증번호(6자리) 입력
const speakeasy = require('speakeasy');

var verified = speakeasy.totp.verify({
    secret: 'secret에서 출력된 ascii 값 입력',
    encoding: 'ascii',
    token: '인증번호 입력(6자리)'
});

console.log(verified);- verify.js 실행
node verify.js- 앱에서의 인증번호와 소스코드에서의 token 값이 일치하면 true 값 출력

'개발 > NodeJS' 카테고리의 다른 글
| [NodeJS] crypto 양방향 암호화 복호화 (0) | 2023.08.06 |
|---|